This post has been languishing in my camera waiting for me to make the time to load it.

These are some of the crafty goodies that I got at the Dollar Tree. The plastic picks came with the cup cake liners. What a deal! I got all three packs that they had. I got 3 packages of bakers twine too but I can't find the picture of those. Each package has 3 colors of twine in them so I am pretty much set for life on that. I don't remember how much was on each roll, but it is probably more than I need or will ever use.


There it is! I finally found it.

Here are some of the Washi tapes that I got. I love the rainbow colored ones. I only found 2 rolls for Halloween and a few Christmas. While I was at it I got a few others that I liked.

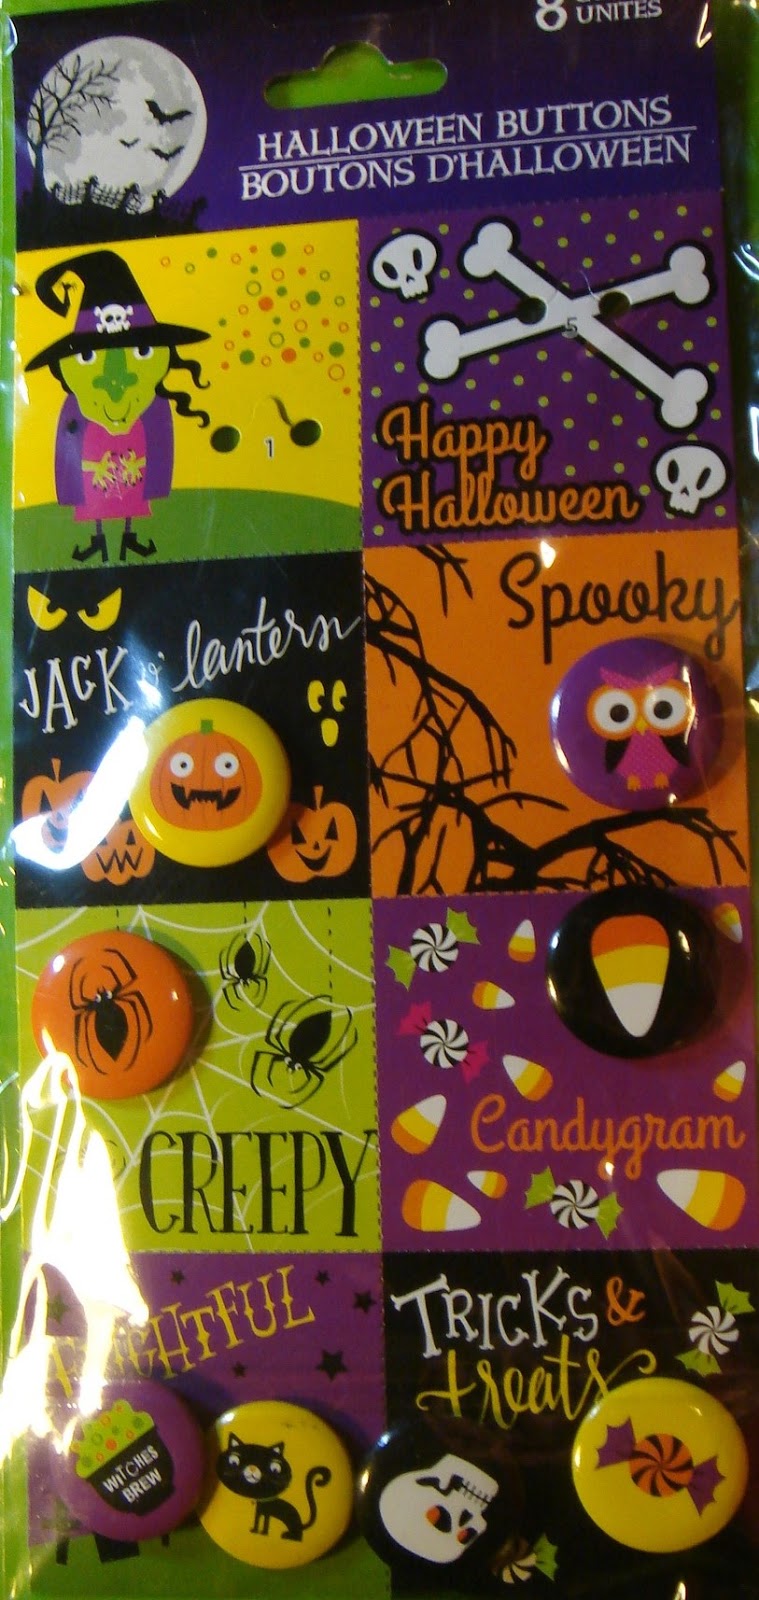
I also saw some pretty Duct Tapes and chose these because I love the colors.I also found these pin cards to use. So cute. These are 8 little cards each with a different Halloween themed pin on them.

I found these pens with different colored inks and decided I needed them for doodeling. I also got a package of gel pens that are wonderful glittery colors. I think they are the best glitter pens that I have. They come in a 4 pack and are called Gell Rollers in case you want to check them out. Again, I couldn't find the picture.

I thought this kit would be fun. These are in the teaching area. You can color and cut out the shapes and make different geometric shapes. I thought the Dodecahedron looked like fun.
I got 2 of these Craft mats. They are a nice plastic and are 12 x 18 inches. So they are a good size to keep gunk off of your desk. The second one I got is for my computer desk so that when I am watching videos and doing my nails I won't ruin the finish on my desk(any more;P).
This is a piece I totally forgot about. It is a Halloween crown made from Spellbinders dies
Imperial Border and
Petite Monarch. I cut each several times to have enough to go around my head and glued them together. I used a printed spider web ribbon to weave through the Imperial Border and added orange dots and brown crystals.

These are the start of my Halloween book. All the stamps are from Stampendous. I haven't decided how I am putting it together yet. It is half colored and there are a few more stamps I want to get to finish it. It is about half colored so far but I needed to get to work on Christmas so finishing it is on hold for now. I folded the cardstock before I stamped the pages to give me a better idea how much room I needed.


I found this beauty at a vintage store. It is huge! It is 12.50 x 19 x 1 inch thick from 1970. This page is from the inside cover and has the constillations and the second page I am showing is the map of Africa. I just love the depth and colors on these maps.
 I love this Cheery Lynn Die French Lattice (small). It makes such an elegant background. I would use it on almost every card but I tend to do larger coloring designs that would just cover the whole thing. So sad. I do use it often on the inside of cards though. I used the 2nd die in this set: Oval-Scalloped-lg-stackers-nesting-dies/. The stamp I used is from(gasp!!!No, not Stampendous ;p) After Midnight Art Stamps Christmas Sheet #5. It was stamped in Tim Holtz Distress Ink Vintage Photo. Then I went over the edges with the same ink and penned in over the top with Copic Atyou Spica in Sky Blue. Then I used my Irresistable Pico Embelisher to add a tiny dot on each of the scallops and at the meeting point of each lattice. I added everything to a white pre-made card that I edged with the Vintage Photo Distress ink. I made my Poinsettia with Cheery Lynn's Build-a-flower-1-petals-leaves/. After I shaped the petals I used my Craf-t-Products-Metallic Rub Ons in gold and red on the flower petals and leaves. Before I used a small brass brad in the center of the Poinsettia I added light dabs of glue to the petals and sprinkled them with red micro glitter from Stampendous Christmas-micro-glitter-kit. It doesn't show in the picture but it sure looks great in the light.


